Company Sites
This screen allows you to define multiple sites within the company. Company Assets and Warehouses are linked to a company site and facilitates analysis of stored data by Site
List Tab
Display fields
The displayed fields are taken from the Company Site information entered into the ‘Detail’ tab. The selection of which fields to display is at the user’s discretion. To select the fields to display simply ‘right mouse’ in the main panel and select ‘Customise List Fields’.
On the displayed panel you can:
- Click on the ‘Show field’ checkbox to display the field
- Amend the column heading by changing the content of ‘Display Label’
- Define the sort sequence of the records by going to the lower panel and dragging the field from ‘Available Fields’ to ‘Sort By’.
- Click the ‘Save’ Button when done.
Data Display Options
Field Position: On the List screen you can move the field position by dragging the column heading left or right to the position where you want it to appear.
Filtering and Sorting: If you ‘check’ the checkbox then the displayed data is available for filtering and sorting:
- To sort the data in a selected column simply click on the column heading. Clicking against will sort in descending order.
- Click on the black ‘down arrow’ to the right of your selected column heading and you can either select a specific entry to display all records containing that entry, or you can select (Custom ) to enter detailed selection criteria.
Searching: If you enter some text into the ‘Search’ field and click on the ‘binoculars’ Icon then all records will be interrogated and those records that contain the entered text will be displayed. To revert back to displaying all records click on the ‘Eraser’ Icon
Buttons
Close: This will close the Company Sites screen. If you have any unsaved data then you will be asked if you wish to save it before the screen is closed.
Add: This will bring up the ‘Detail’ tab for entry of new Company Site details.
Save: Not applicable to the List panel
Cancel: Not applicable to the List panel
Delete: This removes the current Company Site from this table
Detail Tab
Entry and Display fields
Site Name: Entry is only allowed during an Add transaction. Enter the name of the new Site. Duplicate site names are not allowed
Physical Address: Three lines are available for entry of the physical address of the site. No checks are made and this can be amended at any time.
Site Contact: Select the main contact at this site from the drop-down list. The drop-down list is taken from the current list of Employees
City: Enter the Town or City where this Company Site is located.
State: Enter the State where this Company Site is located.
Code: Enter the Postcode or Zone Improvement Program (ZIP) Code where this Company Site is located.
Country: Enter the Country where this Company Site is located.
Phone Number: Enter the Telephone Number of the Company Site
Fax Number: Enter the Facsimile Number of the Company Site
Default POS Warehouse: From the drop-down list select the Warehouse to be used as the default Warehouse for Point of Sale when logged into this Company Site. This Warehouse will be used if no other Warehouse is specified during POS transactions. Warehouses are maintained via Inventory>Warehouses
Default POS Location: From the drop-down list select the Location within the above Warehouse to be used as the default Warehouse/Location for Point of Sale when logged into this Company Site. This Location will be used if no other Location is specified during POS transactions. Locations are maintained via Inventory>Locations.
POS Sales Type: From the drop-down list select the Sales Type to be used as the default Sales Type for Point of Sale when logged into this Company Site. This Sales Type will be used if no other Sales Type is specified during POS transactions
Replenish From Site: If you replenish inventory by transferring Items from another site then you should select the 'From Site' from the dropdown list. The Transfer batch as generated from the 'Create Required Orders' screen (Requirements>Create Required Orders) will use this Site as the source of the Transfer
Html Signature: This option allows you to optionally set a specific HTML Signature for this Site. (NB: If no signature is specified here, a Default Signature is created using the fields below)
These fields will be used to automatically generate the default email Site signature that Ostendo generates 'on the fly'if no HTML Signatureexists for this Site

The "Set / View Html Signature" button allows you to specify HTML code to generate a specific Site signature.
This screen is divided into an Upper section and Lower section
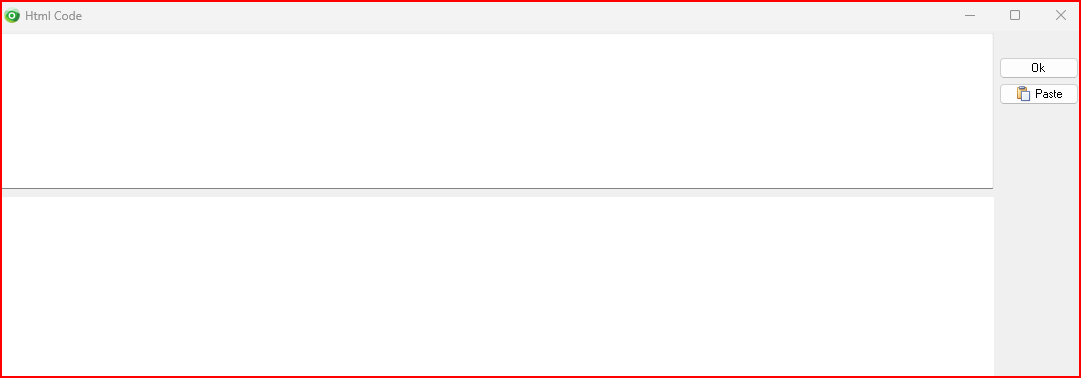
Upper Section:
Type or paste in your 'marked up' text etc HTML code for your signature. You can simply use a free online WYSIWIG HTML editor to generate this code, then paste it into the upper section of this screen.
Lower Section:
Once you have pasted the marked up code in the upper section, it will show the HTML content in this Lower Section.
(NB: The Company Name and details are included in the mark up)
To create a Site signature, paste in the contents below. (Amend the text shown in blue as required)
|
ABC Corporation
123 Business Ave, Suite 100, City, State 12345
p:+1 (234) 567-8900 e:info@company.com w:www.company.com
This email and any attachments are confidential and may be privileged. If you are not the intended recipient, please notify the sender and delete this message.
|

Notes: You can enter unlimited amount of Notes that are related to this Company Site. These notes will be available wherever the Site is reported. Whenever you click on this field an icon will appear in the top-right. By clicking on this Icon you can bring up the Frequently Used Text table. Select the text to be copied and either press the OK Button in that screen or double-click the selected record.
Buttons
Close: This will close the Company Sites screen. If you have any unsaved data then you will be asked if you wish to save it before the screen is closed.
Add: This will bring up a blank ‘Detail’ screen for entry of new Company Site details.
Save: This will save the current data without exiting the screen
Cancel: Any changes made since the screen was opened or the last time the ‘Save’ Button was pressed will be lost.
Delete: Not applicable to the Detail panel